- To add an Image click on the Image button in the tool bar. (It looks like a little picture of a house in a landscape). This brings up the Image Properties dialog box.
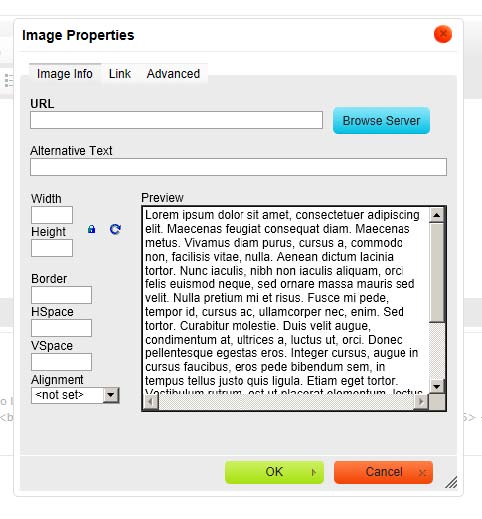
- To find an image click on the Browse Server button next to the URL field. This brings up the File Browser window.
-
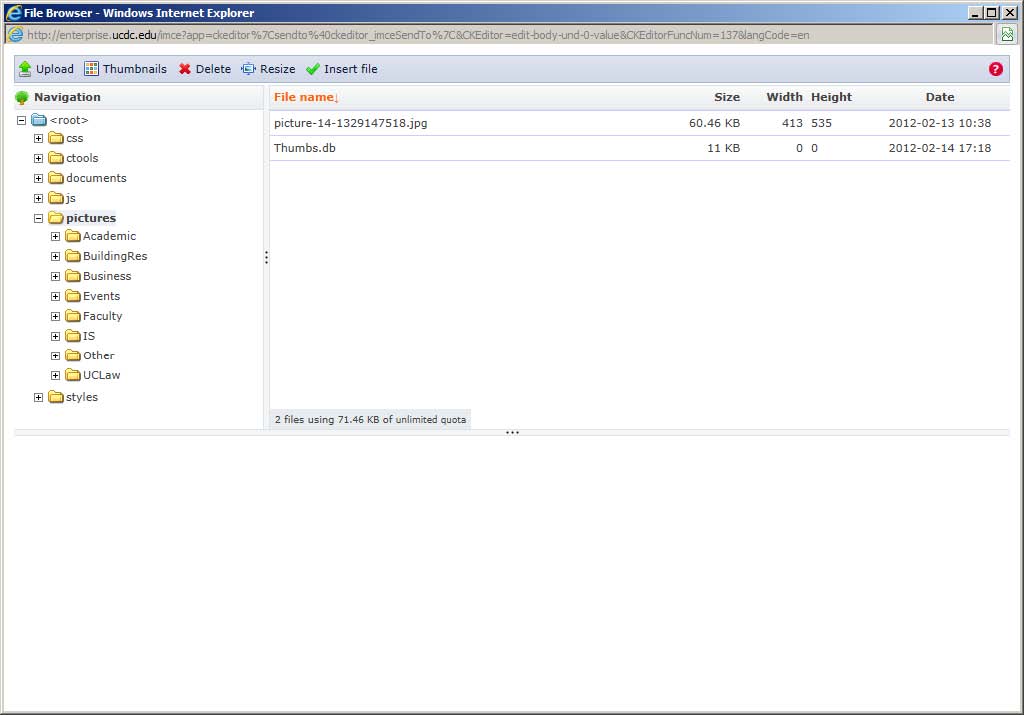
NOTE: NEW BUSINESS PROCESS: Under the Navigation tree on the left side click on the pictures directory. Under this you will find directories for each of the principal divisions for content assignment of the web site (Academic, BuildingRes, Business, Events, Faculty, IS, Other, and UCLaw). For the most part, your images should be stored in the directory associated with your content assignment.
-
Before we leave the File Browser window, please note that there is also an Upload button. You can use this to upload images from elsewhere on the network into your directory.
-
Also, take a moment to open Microsoft Explorer (Go to Start button/All Programs/Accessories/Windows Explorer). Notice that you now have a "Pictures (\\enterprise)(P:)" directory. This is another way that you can copy images or documents onto the web server for your use.
-
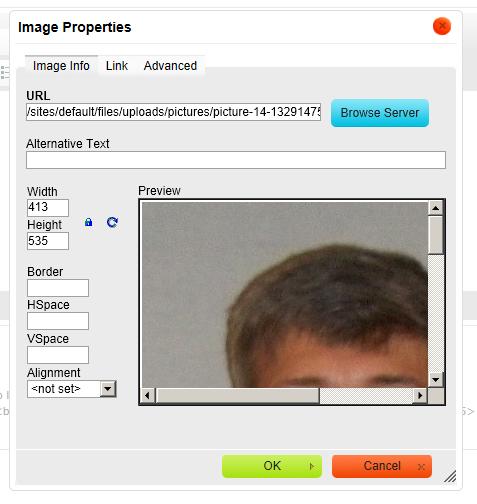
Find the image that you want to use and double click it or click on the Insert File button to insert it into the Image Properties dialog box.
-
The URL to your image is automatically pasted into the URL field. Alternative Text is where you can put a descriptor for the image. The Width and Height of the image are automatically pasted into the corresponding fields.
-
You may alter the Width and Height of the image through this utility if you desire. Make sure that the lock icon is locked if you want the image to automatically adjust its propostions. RECOMMENDATION: However, it is recommend that you create the image to the size that you would like it to appear on the web site. This assures that it always displays as you want it to.
-
The Border field enables you to put a border around the image. Borders are measured in pixels.
-
HSpace and VSpace enable you to put white space around in image to separate it from text. HSpace for left and right. VSpace for top and bottom. These also are measured in pixels.
-
You may also adjust the placement of the image on the page with the Alignment pull down menu. However <not set> is often the best option.
-
Click OK to paste your image in place.
-
If some time later you wish to change any of the properties of the image, right click on the image and select Image Properties. This will display the Image Properties window.